
Homelab Kubernetes, Guide 4: Cloudflare Tunnel
Set up Cloudflare Tunnel for your K3s homelab and securely access services from anywhere without port forwarding. This guide covers cloudflared, DNS routing, TLS, and exposing selected services through Cloudflare.
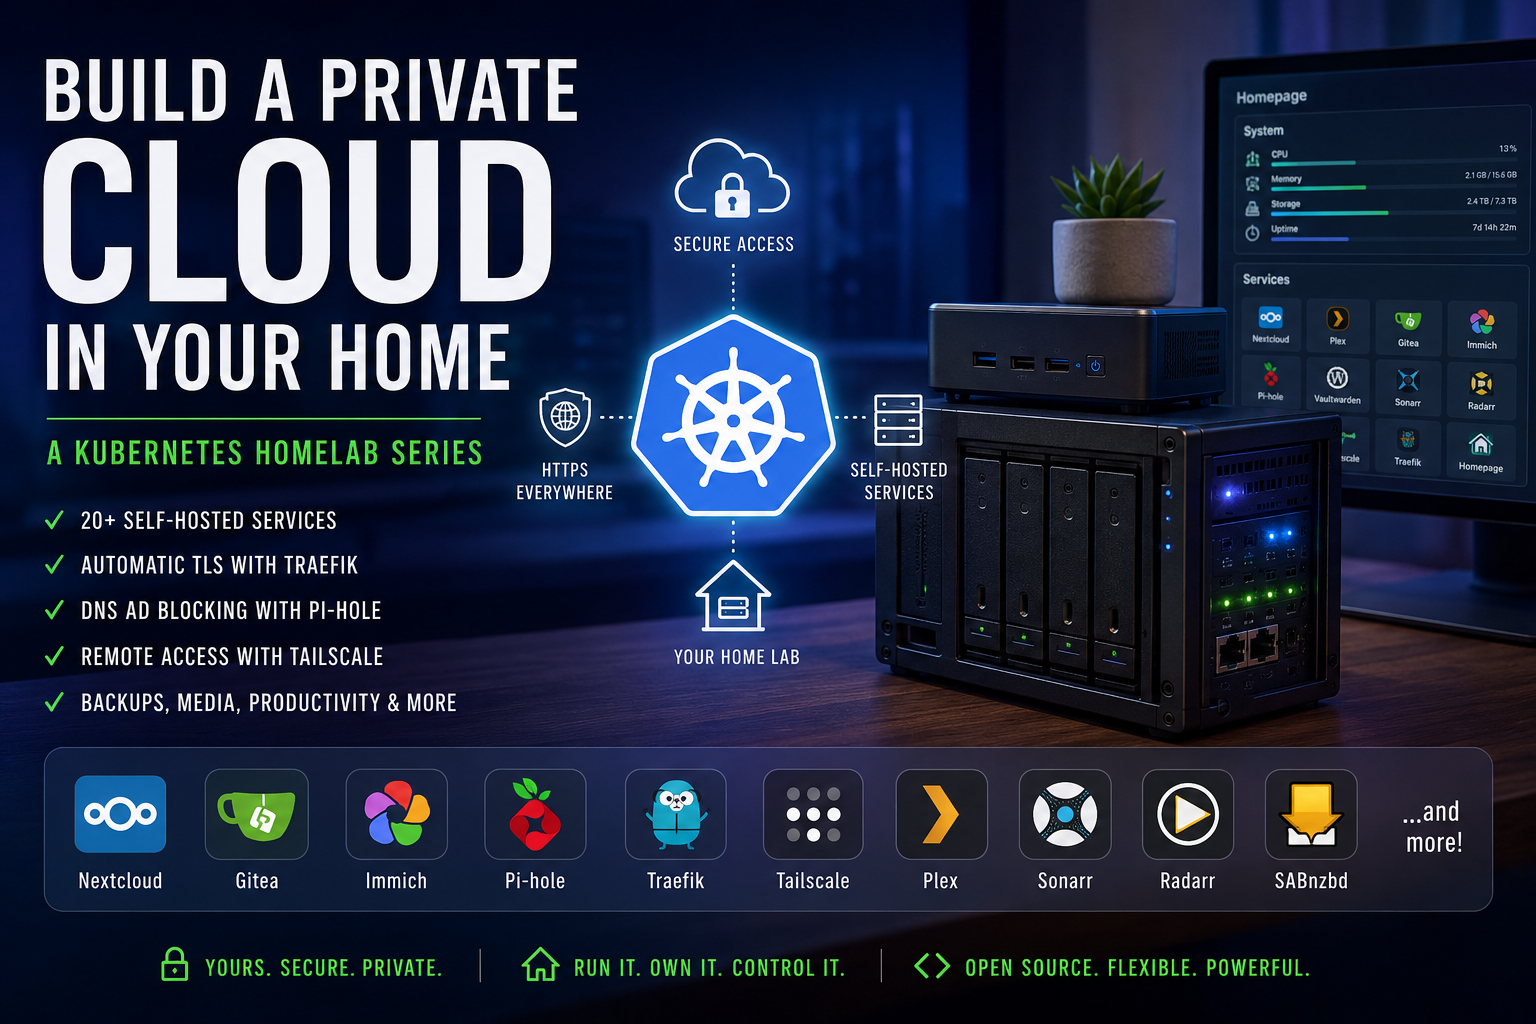
This is part of a series on building a self-hosted Kubernetes homelab. Start with the series intro if you haven't already.
Traefik handles all traffic inside your home network. But what if you want to reach your homelab from outside your house? The typical answer is port forwarding: you open ports 80 and 443 on your router and point them at your server. That works, but it exposes your home IP address and requires router configuration.
Cloudflare Tunnel is a cleaner option. cloudflared runs as a pod in your cluster and creates an outbound connection to Cloudflare's network. When a request comes in for your domain, Cloudflare routes it through that tunnel to your cluster. No open ports. No router changes.
How Cloudflare Tunnel Works
A tunnel is a persistent outbound connection from cloudflared to Cloudflare's edge. Because the connection is initiated from inside your network, your router doesn't need any special configuration.
Traffic flows like this:
Browser → Cloudflare edge → tunnel → cloudflared pod → Traefik (192.168.1.91) → service
cloudflared is configured with a list of hostnames and where to forward them. In this series, everything goes to Traefik, and Traefik handles routing from there.
The tunnel credentials are stored as a Kubernetes secret. cloudflared reads them on startup and reconnects automatically if the connection drops.
Prerequisites
- Traefik is installed and running at 192.168.1.91
- You have a Cloudflare account and your domain is managed there
Install cloudflared and Create the Tunnel
Install cloudflared on your server:
curl -L https://github.com/cloudflare/cloudflared/releases/latest/download/cloudflared-linux-amd64 \
  -o cloudflared
chmod +x cloudflared
sudo mv cloudflared /usr/local/bin/
Log in to Cloudflare. This command prints a URL. Open it in a browser and authorize the connection:
cloudflared tunnel login
Cloudflare saves authorization credentials to ~/.cloudflared/cert.pem after you approve.
Create the tunnel:
cloudflared tunnel create homelab
This creates the tunnel and writes a credentials file to ~/.cloudflared/<tunnel-id>.json. The tunnel ID is a UUID. List your tunnels to confirm and get the ID:
cloudflared tunnel list
Store the Credentials as a Secret
Replace <tunnel-id> with the UUID from the previous step:
kubectl create secret generic cloudflare-tunnel-credentials \
  --from-file=credentials.json=$HOME/.cloudflared/<tunnel-id>.json \
  --namespace network
Create the Manifest
Create /data/manifests/cloudflared.yaml. Replace <tunnel-id> and example.com with your values:
apiVersion: v1
kind: ConfigMap
metadata:
  name: cloudflared-config
  namespace: network
data:
  config.yaml: |
    tunnel: <tunnel-id>
    credentials-file: /etc/cloudflared/creds/credentials.json
    ingress:
      - hostname: "*.example.com"
        service: https://192.168.1.91
        originRequest:
          noTLSVerify: true
      - service: http_status:404

---
apiVersion: apps/v1
kind: Deployment
metadata:
  name: cloudflared
  namespace: network
spec:
  replicas: 1
  selector:
    matchLabels:
      app: cloudflared
  template:
    metadata:
      labels:
        app: cloudflared
    spec:
      containers:
        - name: cloudflared
          image: cloudflare/cloudflared:latest
          args:
            - tunnel
            - --config
            - /etc/cloudflared/config.yaml
            - run
          volumeMounts:
            - name: config
              mountPath: /etc/cloudflared
              readOnly: true
            - name: credentials
              mountPath: /etc/cloudflared/creds
              readOnly: true
      volumes:
        - name: config
          configMap:
            name: cloudflared-config
        - name: credentials
          secret:
            secretName: cloudflare-tunnel-credentials
Two things to note about this manifest.
noTLSVerify: true is required because cloudflared connects to Traefik via the LAN IP 192.168.1.91. Traefik's certificate is issued for your domain name, not that IP, so TLS verification would fail. The connection from Cloudflare's edge to your server is still encrypted by the tunnel itself.
replicas: 1 runs a single cloudflared pod. This is a single-node cluster, so a second replica would land on the same node anyway and would not improve availability.
Apply and Create the DNS Route
kubectl apply -f /data/manifests/cloudflared.yaml
Verify the pods are running:
kubectl get pods -n network -l app=cloudflared
Create a DNS record in Cloudflare for each service you want reachable from outside your home. Replace nextcloud.example.com with the actual hostname:
cloudflared tunnel route dns homelab nextcloud.example.com
This creates a CNAME record in Cloudflare DNS pointing that specific hostname to <tunnel-id>.cfargotunnel.com. Only hostnames with a CNAME record go through the tunnel. Everything else still resolves to 192.168.1.91 via the wildcard A record you created in Guide 3, keeping those services LAN-only.
Do not create a wildcard CNAME for the tunnel. That would override the wildcard A record and route all subdomains externally, removing the LAN-only distinction for services that don't need to be public.
Common Problems
The wildcard catch-all is required. The last line in the ingress block (service: http_status:404) is a required fallback. cloudflared returns an error for any hostname not matched by a rule. With the wildcard *.example.com at the top, all your subdomains are covered and the catch-all handles anything else.
The tunnel only applies to external traffic. Requests from inside your LAN still go directly to Traefik at 192.168.1.91 via the wildcard A record from Guide 3. A service is only externally reachable if you explicitly created a CNAME record pointing that hostname to the tunnel. Services without one are LAN-only.
Summary
cloudflared is running in your cluster. Services you want externally reachable get a specific CNAME record pointing to the tunnel. Everything else stays LAN-only via the wildcard A record from Guide 3. No port forwarding or router changes required.
In Guide 5, you'll install Pi-hole. It runs in the cluster with a dedicated IP from MetalLB and becomes your network's DNS server, blocking ads and resolving your internal hostnames directly on the LAN.