Build a Private Cloud in Your Home: A Kubernetes Homelab Series
Build your own private cloud at home with K3s. This beginner-friendly series walks through creating a self-hosted Kubernetes homelab with HTTPS, remote access, media services, backups, cloud storage, and more — all running on hardware you already own.
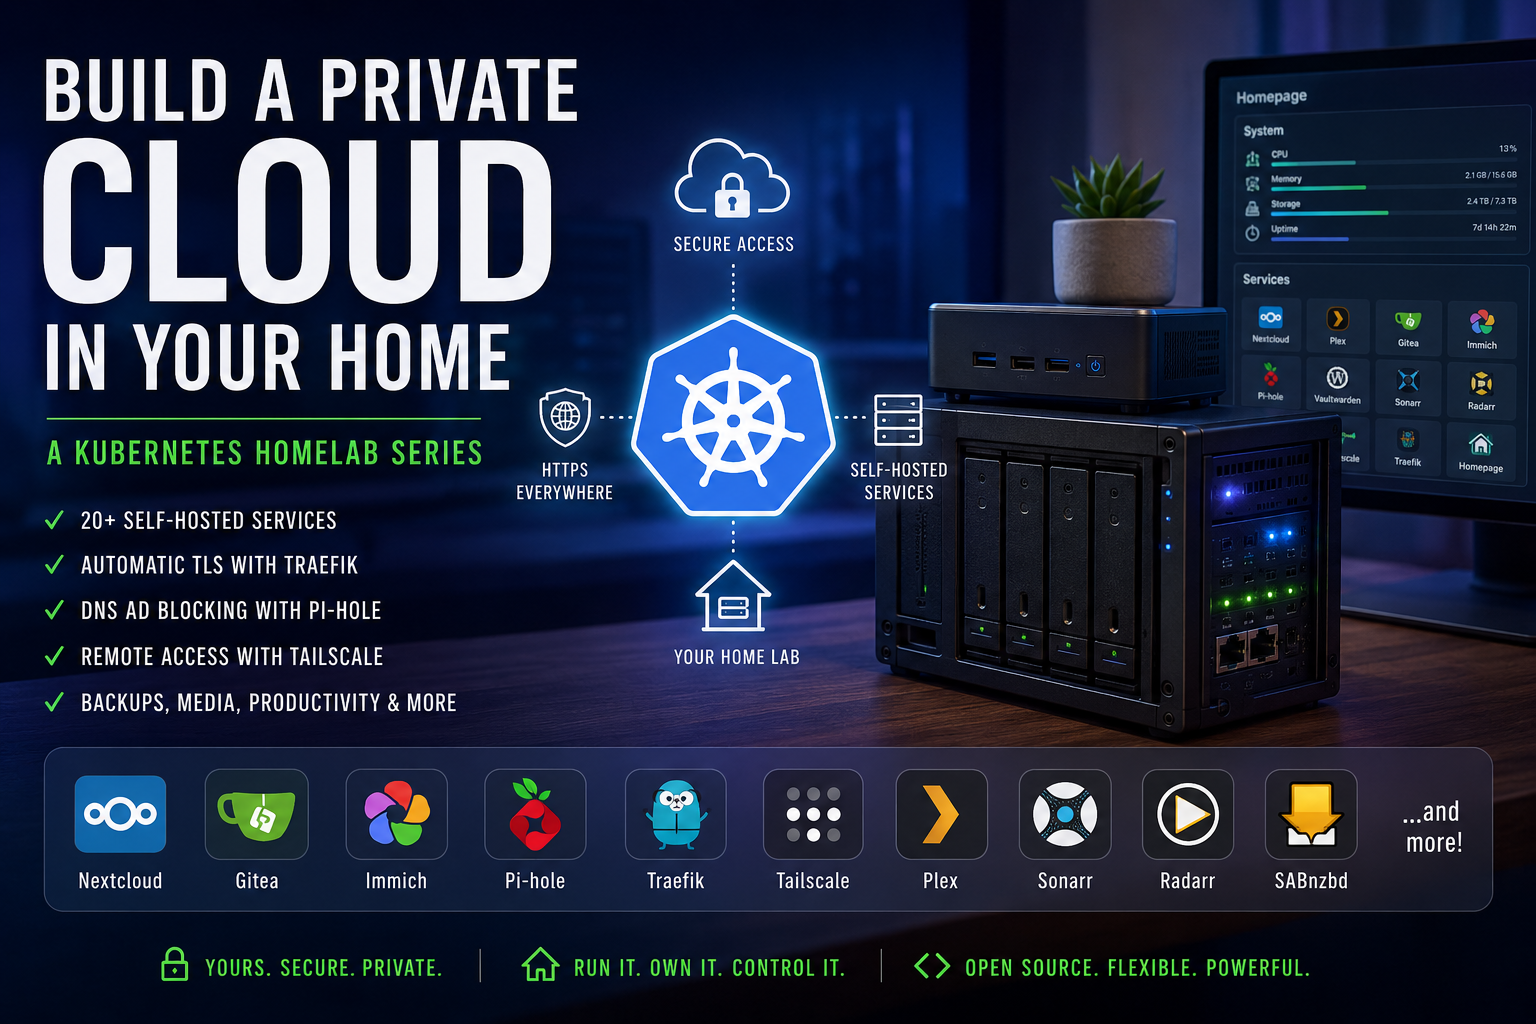
20+ self-hosted services behind TLS, on hardware you already own. No prior hosting experience required.
You want to run your own services at home. Your own cloud storage, media server, password manager, and Git server. You're just not sure how. This series shows you how to build exactly that.
You'll build a single-node Kubernetes homelab using k3s, with a reverse proxy that handles TLS automatically, DNS-level ad blocking, a VPN for remote access, and about 20 self-hosted services running on top of it all. Access from your network and outside it. All securly without having to expose a single port on your network.
By the end, you'll have your own private cloud running in your home.
What Is k3s?
Kubernetes is an orchestration platform. It takes a list of services you want running and makes sure they stay running. It handles restarts, networking between services, and resource management.
Standard Kubernetes is heavy. It was designed for fleets of servers at companies like Google. k3s is a lightweight distribution of Kubernetes built for exactly this use case: a single machine or small cluster that doesn't need all the enterprise overhead.
k3s ships as a single binary. It includes the control plane (the brain of the cluster), a built-in container runtime, and a local storage driver. The install takes under a minute.
Why Kubernetes over Docker?
Docker is the simpler starting point, and for one or two containers it's the right tool. For a stack this size, it has real friction. Three specific pain points drove the choice here.
Cert management. Docker Traefik cert config lives in labels scattered across compose files. In Kubernetes, you define a cert resolver once and every service picks it up automatically via an IngressRoute resource. No per-service cert wiring.
IP assignment. In Docker, all containers share your host's IP. You differentiate services by port number, which gets messy fast. MetalLB gives each Kubernetes service its own real LAN IP, so every service is reachable on standard ports without conflict.
Traefik ingress. Docker Traefik routing is configured through container labels spread across multiple files. Kubernetes IngressRoutes are standalone YAML files in one place that you can read, audit, and apply independently.
Beyond those three, Kubernetes also gives you:
- A single way to define every service, regardless of complexity
- A built-in secret store for passwords and tokens
- Namespaces to logically separate unrelated services
kubectl, a consistent tool for inspecting and managing anything running in the cluster
Once you're comfortable with the pattern, adding a new service is just writing a YAML file and running kubectl apply.
What You'll Build
Here's the full stack you'll have at the end of this series.
Foundation (Sections 1-4)
- k3s: the Kubernetes cluster itself
- MetalLB: assigns real LAN IP addresses to services
- Traefik: reverse proxy with automatic TLS certificates
- Cloudflared: secure external access without opening ports on your router
Network (Sections 5)
- Pi-hole: network-wide DNS ad blocking, running inside the cluster
Productivity (Sections 6-8)
- Nextcloud + Collabora: self-hosted file storage and document editing
- Gitea: private Git server
- Immich: self-hosted Google Photos replacement
Access (Sections 9-10)
- Tailscale: always-on VPN to reach your homelab from anywhere
- Homepage: a dashboard showing all your services and their status
Media (Sections 11)
- SABnzbd, Sonarr, Radarr, Lidarr, Plex, Tautulli, Tdarr, Seerr: a complete automated media stack
Tools (Sections 12-18)
- Duplicati: encrypted offsite backups
- Ghost: self-hosted blog
- Calibre-Web: e-book library manager
- Bookstack: internal wiki
- PrivateBin: encrypted paste sharing
- Vaultwarden: self-hosted Bitwarden password manager
- Diskover: visual disk usage explorer
Every service gets its own subdomain on your domain, served over HTTPS, with a certificate from Let's Encrypt.
What You Need
Hardware: Any x86-64 machine running Ubuntu 24.04 LTS. A used mini PC or an old desktop works fine. The media stack benefits from more RAM (16 GB or more) and an Intel CPU with integrated graphics for hardware transcoding, but nothing in this series requires new hardware.
Networking: Assign a static IP to your server outside your router's DHCP range. The examples in this series use 192.168.1.x as a placeholder. Pick an IP that doesn't conflict with anything else on your network.
You also need a domain name. Cloudflare offers free DNS management.
This series assumes your domain is managed through Cloudflare.
Software: Ubuntu 24.04 LTS installed and SSH-accessible. That's it.
Set Up the Base Directory
Everything in this series lives under /data. I suggest mounting an external drive as /data. That makes it easy to move all the important parts of your server to another machine if needed. Before you install anything, create the base structure:
sudo mkdir -p /data && sudo chown $USER:$USER /data
mkdir -p /data/manifests
mkdir -p /data/appdata
mkdir -p /data/media
mkdir -p /data/files
mkdir -p /data/photos
Here's what each directory is for:
| Path | Purpose |
|---|---|
/data/manifests/ |
Kubernetes YAML files. One file per service. |
/data/appdata/<service>/ |
Config and runtime data for each service. |
/data/media/ |
Movies, TV, music for the media stack. |
/data/files/ |
Nextcloud user files. |
/data/photos/ |
Immich photo library. |
One rule to know now: every manifest file lives directly in /data/manifests/ with no subdirectories. This lets you run kubectl apply -f /data/manifests/ to apply everything at once, which is useful when you rebuild.
Placeholder Values
The examples throughout this series use placeholder values you'll replace with your own. Keep this table handy.
| Placeholder | What to replace it with |
|---|---|
example.com |
Your actual domain |
192.168.1.x |
Your server's static IP |
192.168.1.1 |
Your router's IP |
192.168.1.53 |
The IP you'll assign to Pi-hole |
192.168.1.91 |
The IP you'll assign to Traefik |
192.168.1.92 |
The IP you'll assign to Plex |
192.168.1.94-99 |
A small unused IP range for other services |
[email protected] |
Your email for Let's Encrypt |
America/New_York |
Your timezone in TZ database format |
Pick your IPs before starting. Make sure they're outside your router's DHCP range and not already assigned to any device.
Follow the Order
The phases in this series must be done in order. Later services depend on earlier ones. Traefik needs MetalLB to get an IP. Pi-hole needs Traefik to get a hostname. The media stack needs Pi-hole to resolve internal DNS.
Don't skip ahead. The foundation episodes (1-4) are the most important to get right.
Next
In Episode 1, you'll install k3s and create the namespace structure that every other episode depends on.