The Linux Terminal: A Complete Beginner's Guide
New to Linux? This beginner-friendly guide explains the Linux terminal from the ground up, covering essential commands like cd, ls, grep, nano, chmod, and more. Learn how to navigate, manage files, search logs, and work confidently from the command line.
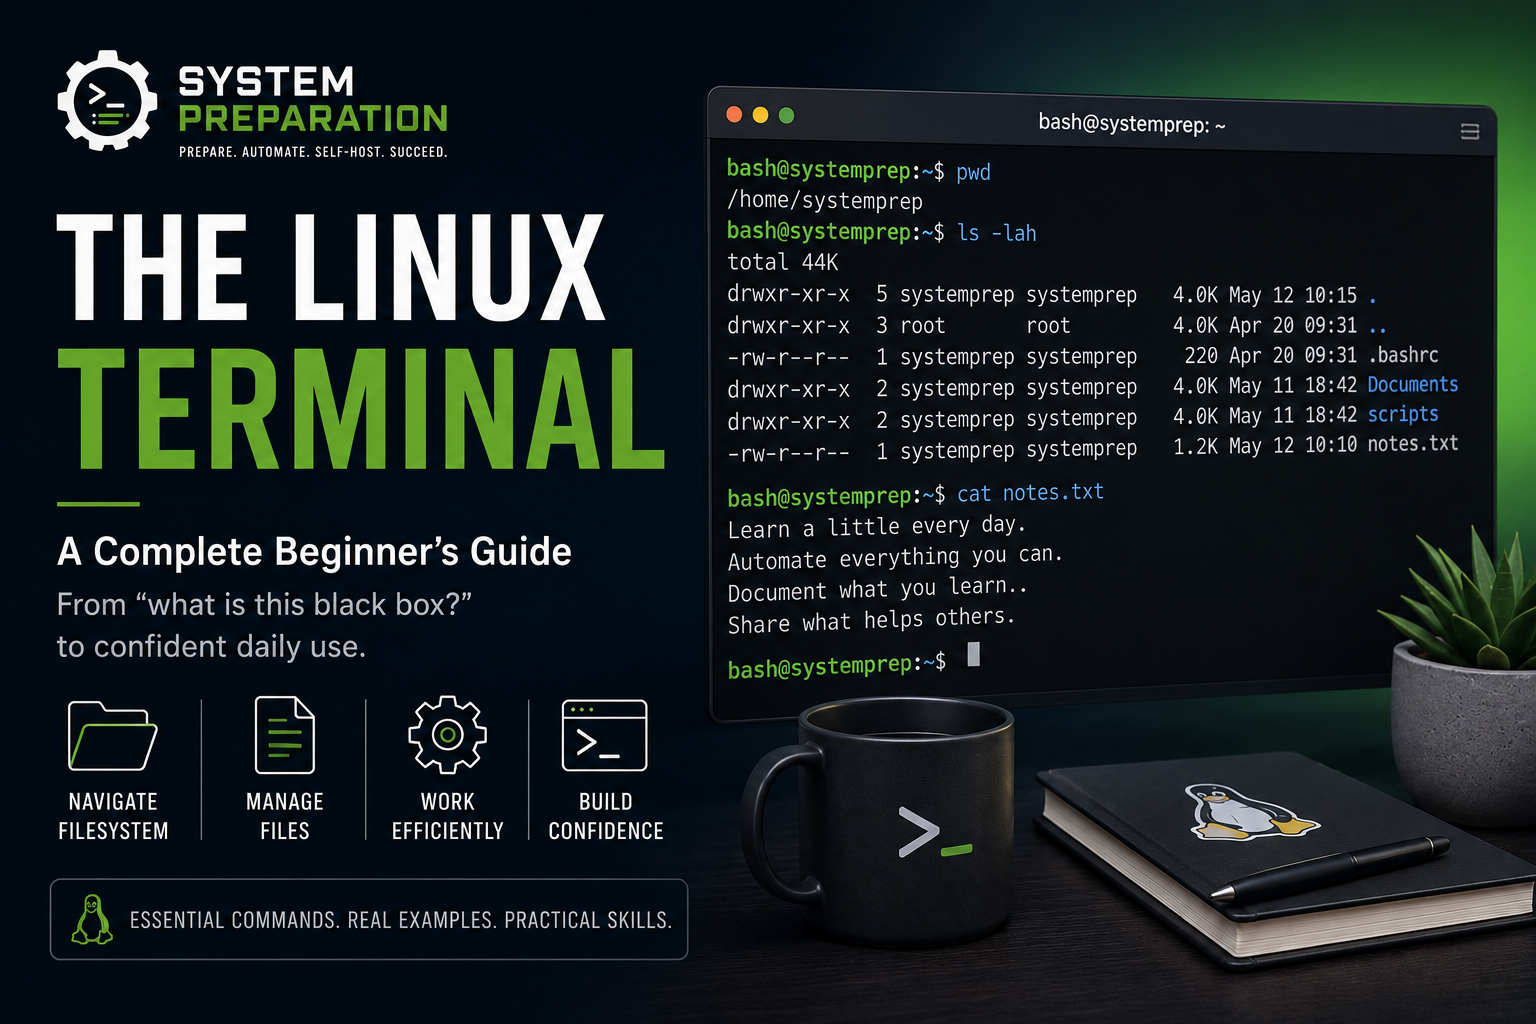
From "what is this black box?" to confident daily use. No experience required.
If you've ever opened a terminal, stared at a blinking cursor, and immediately closed it again, this guide is for you.
The terminal has a reputation for being intimidating. That reputation is mostly undeserved. Under the surface, it's just another way to talk to your computer. Instead of clicking icons, you type short commands. Once those commands become familiar, you'll find yourself doing in five seconds what used to take you a minute of clicking around.
This guide covers twenty essential commands, grouped into logical stages so each section builds on the last. By the end, you won't just know what to type. You'll understand why it works.
Let's start at the very beginning.
Part 1: Getting Your Bearings
Before you can do anything useful in the terminal, you need to know where you are. The terminal doesn't show you a folder with icons. It drops you into a location on your filesystem and waits. These first commands orient you.
pwd: Where Am I?
The very first thing to know: you can always ask the terminal where you are.
pwd
pwd stands for print working directory. Run it and you'll see something like /home/yourname. That's your current location, the folder the terminal is "standing in" right now. Think of it as the terminal's version of looking at the address bar in a file manager.
Get in the habit of running pwd whenever you feel lost. It always tells you the truth.
cd: Moving Around
cd stands for change directory, and it's how you move from one folder to another:
cd Documents
Run pwd again and you'll see you're now inside Documents. To go back up to the folder above you, use .. (two dots):
cd ..
You can chain these together to jump multiple levels at once:
cd ../../etc
To jump straight back to your home folder from anywhere on the system, type cd with nothing after it:
cd
That always takes you home, no matter how deep you've wandered.
Two special shortcuts you'll see constantly:
..means the folder above the current one.means the folder you're already in
You'll mostly see . when running a script or program. If you type just my-script.sh, Linux looks for it in system-wide locations and won't find it. The ./ in front tells Linux to look right here, in the current folder:
./my-script.sh
Tip: Press the Tab key after typing the first few letters of a folder name and the terminal will complete it for you. If nothing happens, press Tab twice to see all the options that match.
ls: What's in Here?
Once you've moved to a folder, you'll want to see what's inside it. ls is the terminal version of opening a folder in a file manager:
ls
That gives you a simple list. For more detail (file sizes, dates, and permissions), add -l:
ls -l
The file sizes shown are in raw bytes, which aren't very readable. Add -h for human-readable sizes like KB and MB:
ls -lh
Linux has a category of files that start with a dot, things like .bashrc or .config. These are configuration files and they're hidden from ls by default. Add -a to show everything:
ls -lha
The -l, -h, and -a are called flags. They're just options you add to a command to change how it behaves. You'll see this pattern with almost every command in this guide.
Part 2: Working with Files
Now that you can navigate, it's time to actually do things with files.
cat and less: Reading Files
The simplest way to read a file is cat. It prints the entire file's contents directly to the screen:
cat notes.txt
For short files, this is perfect. For long files (anything more than a screenful), everything scrolls past in a flash. In that case, use less:
less /var/log/syslog
less opens the file as a scrollable view. Use the arrow keys or Space to move down, b to go back up, and q to quit and return to the terminal.
You can also search inside less. Press /, type what you're looking for, and hit Enter. Press n to jump to the next match.
Tip: A quick rule of thumb: use
catfor short files,lessfor long ones.
mkdir, cp, mv, rm: Managing Files
These four commands cover everything you'd normally do by right-clicking in a file manager.
Create a folder with mkdir:
mkdir photos
To create a whole nested path in one go, add -p:
mkdir -p projects/website/images
Without -p, Linux will complain if any of the parent folders don't exist yet. With -p, it creates whatever is missing.
Copy a file with cp, source first, then destination:
cp report.txt report-backup.txt
To copy an entire folder and everything inside it, add -r (recursive):
cp -r photos photos-backup
Move or rename with mv. Same pattern as cp, but the original is removed:
mv report.txt Documents/report.txt
Renaming is the same operation, just give it a new name in the same location:
mv old-name.txt new-name.txt
Delete a file with rm:
rm old-file.txt
To delete a folder and everything inside it, add -r:
rm -r old-folder/
Warning:
rmdoes not have a trash bin. There is no undo, no recovery, no "are you sure?" prompt by default. Whatever you delete is gone. Double-check before you run it.
nano: Editing Files
At some point you'll need to edit a file without opening a graphical text editor: a configuration file, a script, a quick note. nano is the most beginner-friendly terminal editor and it's installed on almost every Linux system.
nano notes.txt
If the file doesn't exist, nano creates it. You're immediately in the file and can start typing. Unlike some other terminal editors, there's no special mode to enter before you can write.
At the bottom of the screen you'll see a list of shortcuts. The ^ symbol means Ctrl:
| Shortcut | What it does |
|---|---|
| Ctrl+O | Save the file |
| Ctrl+X | Exit nano |
| Ctrl+W | Search for text |
| Ctrl+K | Cut a line |
| Ctrl+U | Paste a line |
The quickest way to save and exit: press Ctrl+X, nano asks if you want to save, press Y, then Enter to confirm the filename.
For system files you don't own, add sudo (more on that shortly):
sudo nano /etc/hosts
Part 3: Getting Help and Staying Safe
man: The Built-In Manual
Here's something most beginners don't know: every command in Linux comes with a built-in manual. You never have to guess what a flag does.
man ls
This opens a scrollable page with the same navigation as less. The most useful sections are DESCRIPTION (what the command does) and OPTIONS (every flag available). Search with /, quit with q.
If you just want a quick reminder without opening the full manual, most commands support --help:
ls --help
That prints a compact summary directly to the screen.
Tip: When you learn a new command, run
manon it once and skim the OPTIONS section. You'll often find flags that save you significant time.
sudo: Running Commands as Admin
Linux has a permission system that prevents ordinary users from accidentally (or maliciously) changing things they shouldn't. Some commands, like installing software, editing system files, and changing network settings, require administrator permission to run.
sudo stands for superuser do. Put it in front of a command to run that one command as the administrator:
sudo apt install curl
Linux will ask for your password. Type it and press Enter. You won't see any characters appear as you type, that's normal and intentional.
sudo only elevates that single command, then immediately drops back to your normal permissions. This is by design. You can't accidentally leave yourself in an elevated state.
The most useful sudo shortcut: if you forget it and get a "permission denied" error, you don't need to retype the whole command. !! means "last command":
sudo !!
Tip: Only use
sudowhen you genuinely need it. Running everyday commands as admin means a typo can cause serious damage. Use it for system tasks, not for regular file work.
chmod: File Permissions
Run ls -l and you'll see a string of letters at the left of each line:
-rwxr-xr-- script.sh
Those letters are the file's permissions. After the first character (which describes the file type), they break into three groups of three:
rwx: what the owner can dor-x: what the group can dor--: what everyone else can do
r is read, w is write, x is execute. A dash means that permission isn't granted.
The most common thing you'll need to do is make a script executable so you can run it:
chmod +x script.sh
./script.sh
To remove the execute permission:
chmod -x script.sh
You'll also see permissions written as numbers. chmod 644 and chmod 755 are the two you'll encounter most often. 755 is standard for scripts (owner can do everything, others can read and run), 644 is standard for regular files (owner can read and write, others can only read).
chmod 644 file.txt
chmod 755 script.sh
Part 4: Finding Things
find: Search for Files by Name
find searches your filesystem for files that match whatever criteria you give it. The basic pattern is find, then where to search, then what to look for:
find . -name "notes.txt"
The . means "start from the current folder." Use / to search the entire system:
find / -name "nginx.conf"
Use a wildcard * to match partial names:
find . -name "*.log"
Narrow the results to files only with -type f, or folders only with -type d:
find . -type f -name "*.txt"
find . -type d -name "cache"
grep: Search Inside Files
Where find locates files by name, grep searches inside files, like Ctrl+F but for the terminal.
Give it a word and a file to search in:
grep "error" app.log
It prints every line containing that word. A few flags that make it more powerful:
-i: case-insensitive (matches "Error", "ERROR", and "error")-r: recursive, searches a whole folder-l: print only the filenames that matched, not every matching line
Combine them to search an entire directory case-insensitively:
grep -ril "error" /var/log/
Part 5: Doing More with Files
tar: Archiving and Compression
tar is Linux's built-in tool for compressing files and folders, the equivalent of right-clicking and choosing "Compress" in a file manager. There are really only two operations worth memorizing.
Create a compressed archive:
tar -czf backup.tar.gz my-folder/
The .tar.gz extension is Linux's equivalent of a .zip. The flags: c for create, z for gzip compression, f for file.
Extract it by swapping c for x:
tar -xzf backup.tar.gz
To extract into a specific folder:
tar -xzf backup.tar.gz -C /tmp/
Memory trick: c for create, x for extract. The z and f never change.
head and tail: Viewing Parts of a File
Sometimes you don't need a whole file, just the beginning or the end. head shows the first 10 lines:
head /var/log/syslog
tail shows the last 10 lines:
tail /var/log/syslog
Control how many lines with -n:
tail -n 20 /var/log/syslog
The most useful feature of tail is -f, which follows a file live. It stays open and prints new lines as they appear, which is invaluable when watching a log file while something is happening:
tail -f /var/log/syslog
Press Ctrl+C to stop following and return to the terminal.
Saving Output to a File: Redirection
Every command in Linux prints its results to the screen. But you can redirect that output anywhere you like using just a few symbols.
> saves output to a file, overwriting it each time:
ls -lh > filelist.txt
>> appends to the end of an existing file instead of overwriting:
echo "Backup complete" >> log.txt
By default, > only captures normal output. Error messages go to a separate stream. You'll notice this when a command produces errors and they still appear on screen even after you've redirected. Capture errors separately with 2>:
find / -name "*.conf" > results.txt 2> errors.txt
Tip:
>>is your friend for building running logs. Use it in scripts to append status messages to a log file over time without overwriting previous entries.
Part 6: Working Smarter
Bash History: Stop Retyping Commands
The terminal remembers every command you've typed. Here are three ways to use that history instead of retyping from scratch.
The up arrow scrolls back through recent commands one at a time. You probably already use this.
Ctrl+R is faster for finding something specific. Hold Ctrl, press R, then start typing any part of a command you ran before. The terminal finds the most recent match as you type. Press Enter to run it, or Ctrl+R again to go further back:
(Ctrl+R) docker run... -> finds your last docker command
!! (two exclamation marks) repeats your last command exactly. Most useful when you forget sudo:
apt install curl
# Permission denied
sudo !!
# Runs: sudo apt install curl
!$ pastes in the last argument from your previous command:
mkdir /var/app/logs
cd !$
# Same as typing: cd /var/app/logs
Brace Expansion: Create Multiple Things at Once
Bash has a shorthand for repeating a command across a list of values. Put options inside curly braces, separated by commas, and the command runs once for each:
mkdir {photos,videos,documents}
That creates all three folders in one line. It works with any command:
touch notes_{monday,tuesday,wednesday}.txt
Use .. to generate a sequence:
mkdir chapter_{1..5}
Build a whole project structure in a single command:
mkdir -p project/{src,tests,docs}
watch: Run a Command Automatically on Repeat
If you find yourself pressing up and Enter over and over to re-run a command, watch does it for you. Put watch in front of any command and it runs it every 2 seconds with a live updating display:
watch df -h
Change the interval with -n:
watch -n 5 free -h
Add -d and watch highlights values that changed between updates, which is useful when you're waiting for a specific number to change:
watch -d -n 2 df -h
Press Ctrl+C to exit.
Part 7: Understanding Your System
ps and kill: Working with Processes
Every program running on your system is a process. When something freezes or you need to stop a program that has no window to close, these are the commands you need.
ps aux lists every process currently running on the system:
ps aux
That produces a lot of output. Pipe it through grep to find a specific program:
ps aux | grep firefox
The second column in the output is the PID (the process ID). That number is how you refer to the process. To stop it:
kill 3842
That sends a polite request to stop. If the process ignores it, -9 forces it to stop immediately:
kill -9 3842
To skip the PID lookup entirely, pkill lets you use the program name directly:
pkill firefox
df and du: Checking Disk Space
Running out of disk space causes all kinds of problems: services crash, logs stop writing, and often the error messages don't make it obvious what happened. Check before it becomes a problem.
df -h shows how much space is available across all your drives and partitions:
df -h
Look at the Use% column. If anything is at 90% or above, it's worth investigating.
du shows how much space a specific folder is using:
du -sh /var/log/
The -s gives a single total instead of listing every subfolder. To find the biggest items inside a directory, combine du with sort:
du -h /var/ | sort -rh | head -10
That lists the 10 largest items, a fast way to track down what's eating your disk.
Part 8: Putting It All Together
The last two commands in this guide are where everything starts to connect. They're simple on their own, but combined with the commands you've already learned they become genuinely powerful.
sort and uniq: Making Sense of Lists
sort alphabetizes lines of text. It doesn't modify the file, it just prints the sorted version:
sort names.txt
uniq removes duplicate lines. It only works on sorted input (because it compares each line to the one above it), so you almost always use these two together with a pipe:
sort names.txt | uniq
The | character (called a pipe) sends the output of one command directly into the next as its input.
Add -c to uniq to count how many times each line appeared:
sort names.txt | uniq -c
This combination is surprisingly versatile. Want to know which command you use most often?
history | awk '{print $2}' | sort | uniq -c | sort -rn | head -10
xargs: The Glue Between Commands
The pipe | is great for sending output from one command into the next. But some commands don't accept input through a pipe. They need a list of filenames or values passed directly as arguments. That's what xargs does: it takes piped input and turns it into arguments.
Here's the classic example, deleting everything find returns:
find . -name "*.tmp" | xargs rm
xargs takes each filename from find and passes it to rm as if you'd typed the names yourself.
Before you actually delete anything, test with echo first to see exactly what would happen:
find . -name "*.tmp" | xargs echo rm
That prints the commands without running them, so you can verify the list looks right before committing.
What's Next?
You've now covered the twenty commands that form the foundation of working in the Linux terminal. At this point, the best way to build confidence is to use them. Open a terminal alongside your normal workflow and reach for these instead of the file manager whenever you can.
A few directions worth exploring next:
- Environment variables:
$PATH,$HOME, andexportexplain how Linux finds commands and stores system-wide settings - SSH: connect to remote servers using the same commands you've learned here
- Shell scripting: combine these commands into reusable scripts that automate repetitive tasks
alias: create your own shorthand for commands you type constantly
And remember: when you're unsure what a command does, man is always there.
All commands in this guide were tested on Ubuntu/Debian-based Linux systems. Most work identically on any Linux distribution and on macOS.